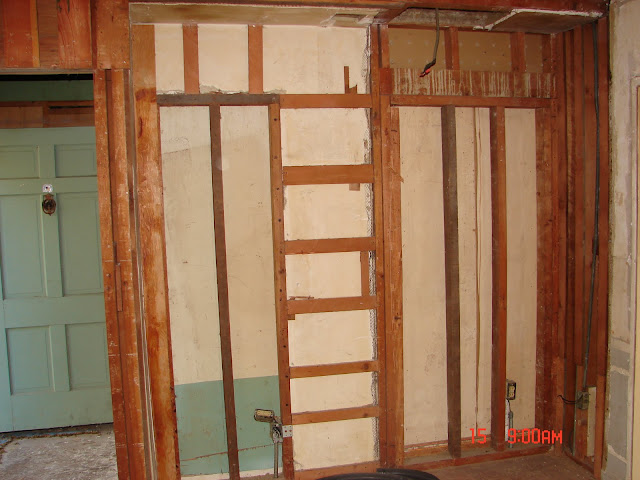
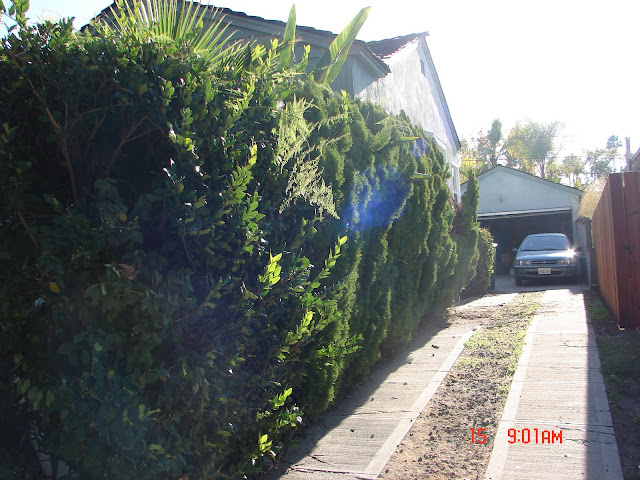
before:

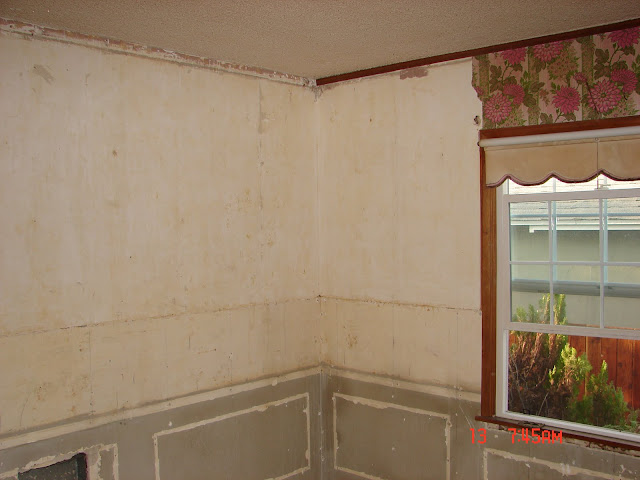
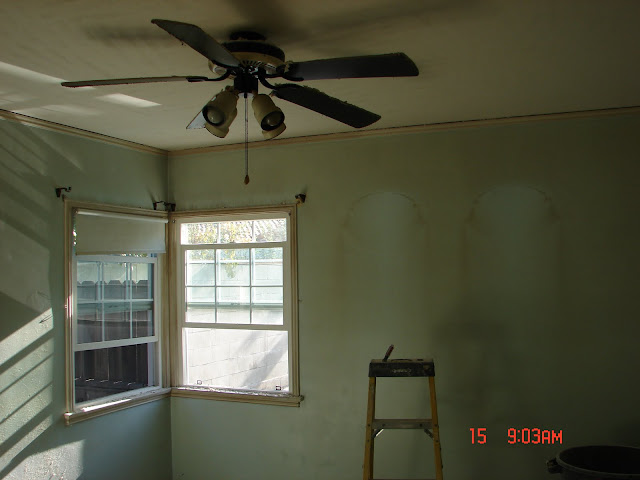
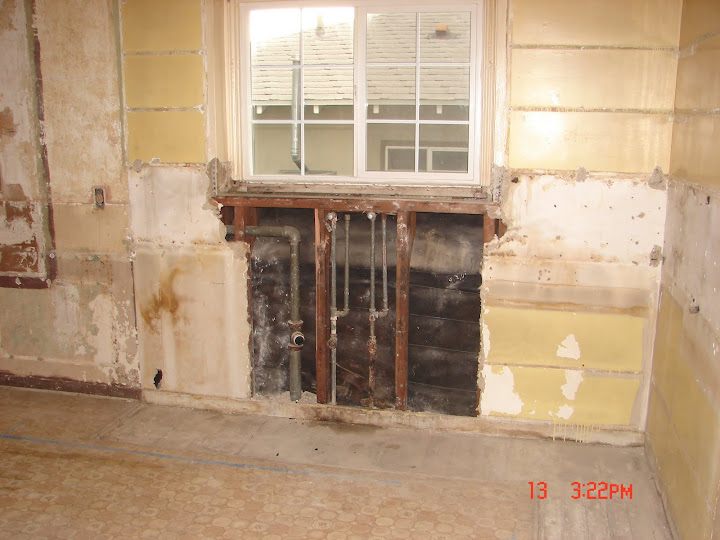
before with that weird wall in the middle of the room:

before again with the weird wall:
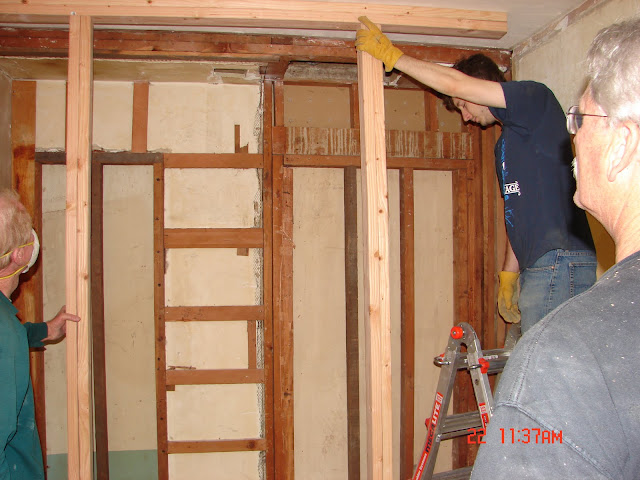
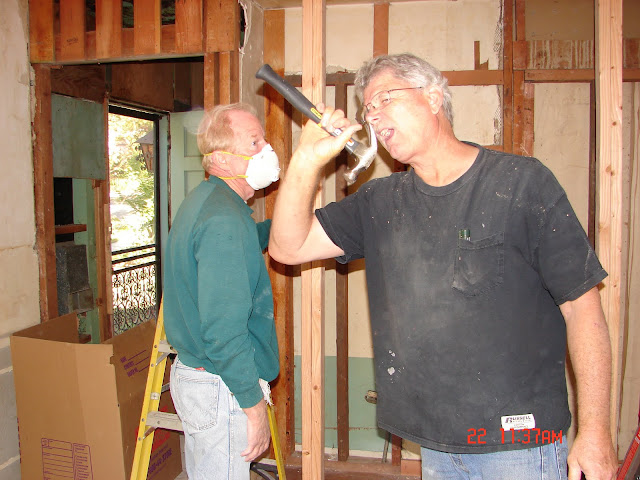
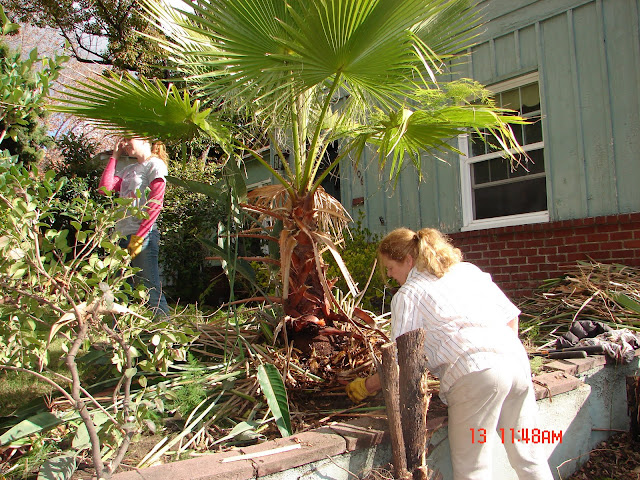
after our wrecking crew:

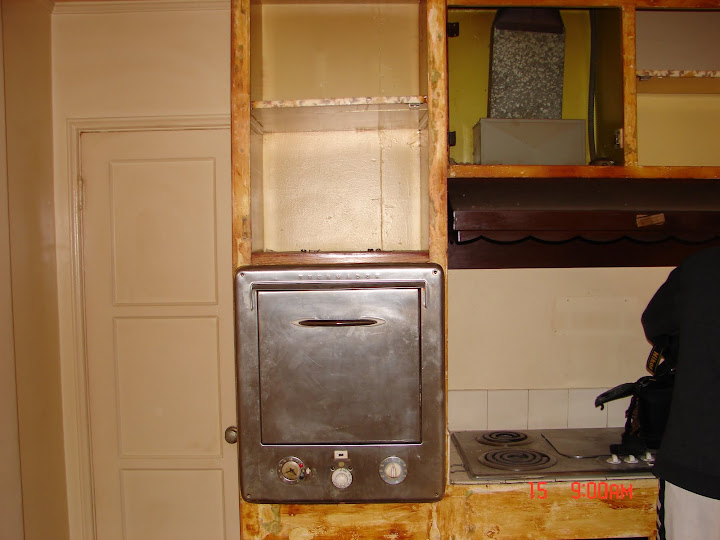
It is my kitchen. Mine. It's not much to look at right now, but ooh, I can smell the things that will be created in here already (and that's generally a good thing).
It's 5:00 on any old weekday. I am just getting home from work and then the grocery store. Brandon won't be home for a couple hours so it's time for me to unwind from my day.
I walk in through the door of my house, set my keys down in the place that they will be set, and turn on some music (I think I'd be in the mood for some Joni on this day). I leisurely put my groceries away, let the dog in the house, and look through the house for any damage done by my mischievous kitties throughout the day.
It's too cold for a run this day, so I decide to have a glass of wine and get to cooking. I look through my cabinets, at my spices, open my fridge and find my fresh fruits, veggies, cheese, OJ (beware, I drink straight from the carton if the mood strikes), leftovers.
Maeby hops up on the counter when I'm not paying attention. I pick her up and set her on the floor. What's on the menu tonight?
And this is my kitchen window. I can see it already.
before:

after:

It will provide fantastic light for photographing food. Can't you see it?

We may not be there yet, but we have made progress! All of the electrical and plumbing in the kitchen are complete. The floor is up, the doorway into the second bedroom has changed locations. The tankless water heater has even been installed! We are just about ready to start putting it back together.
As you know, I have already picked out my
appliances. The next decision was floors. I toiled over the decision for weeks, months even. There were positives and negatives to every type of flooring.
tile: durable and cheap, but difficult to clean, susceptible to cracks, cold.
wood: beautiful and can be refinished, but expensive and hard to match with our vintage hardwood in the rest of the house
marmoleum: eco friendly, durable, easy to install, but a little cold and industrial looking for my untrained eye
cork: eco friendly, soft underfoot, easy to install, hides dirt and scratches, but susceptible to gouges and water damage, as well as fades over time
I am indecisive until I'm not. And once I know, I know. I decided to go with cork. It is important to me to renovate responsibly, with as little carbon footprint as possible, and cork is made from tree bark, not the actual wood. It can be harvested many times without destroying the integrity of the tree. Also, as a home cook who is often in the kitchen, I love the feeling of it under my feet. It's really wonderful. The aesthetic is nice because it will be in the same brown tones that the rest of the house will be, but won't compete with the hardwood in the rest of the house. So it fades and gouges... I can deal with that!
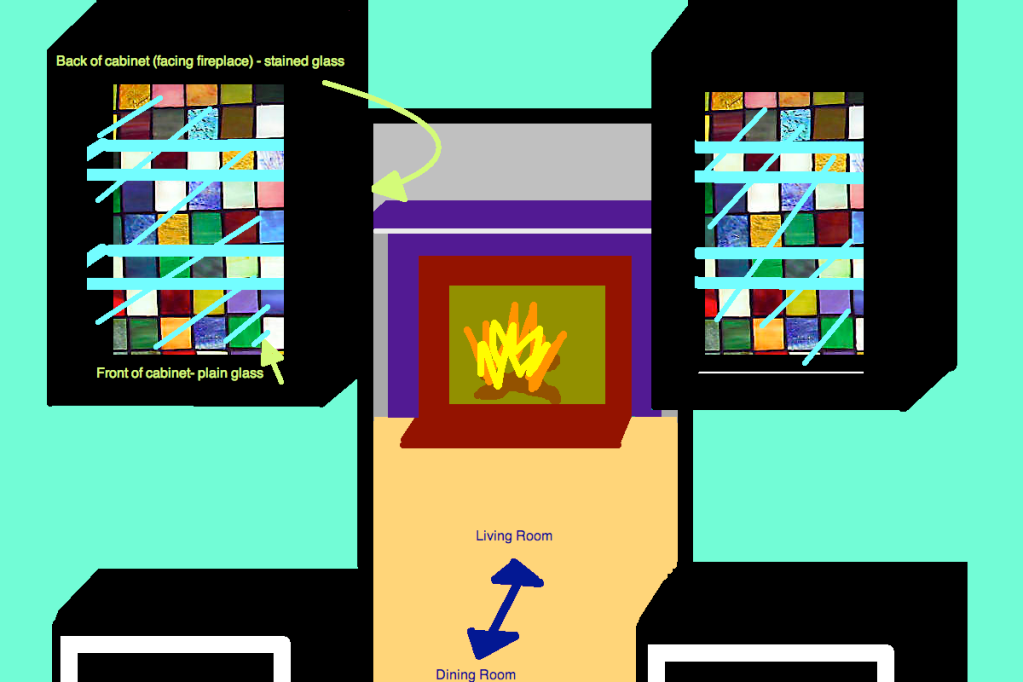
I am working on deciding what kind of a kitchen I really want! I know that I want at least one purple door in my house. The back one, likely. I think off white cabinets and I hope I can incorporate stained glass somewhere into the house. It's a mishmash of ideas that get confusing and difficult to sort through, but I know we can do it.
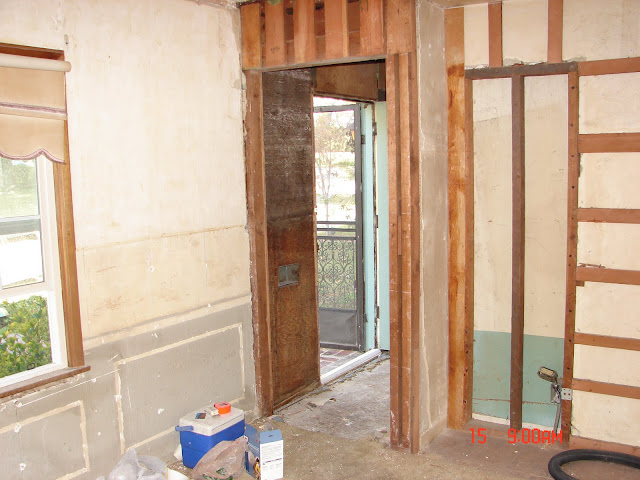
before (back porch into kitchen view):

after with no more funky wall:


 How amazing does my kitchen window look!?!
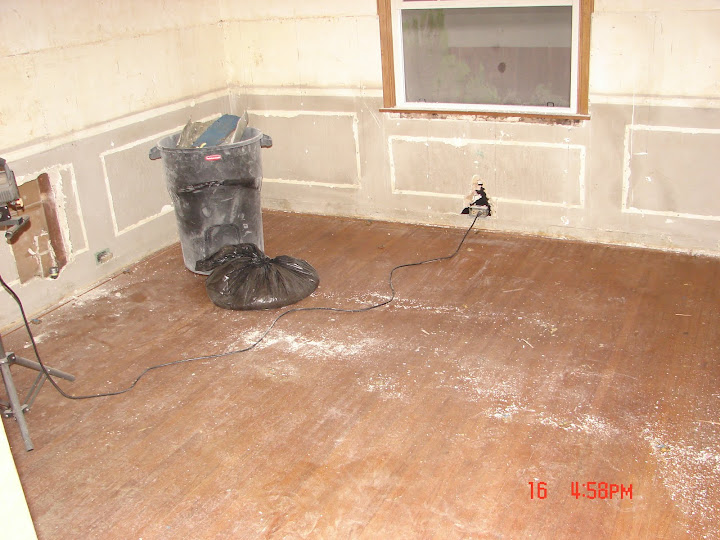 Remember my dining room?
 Check it out now!
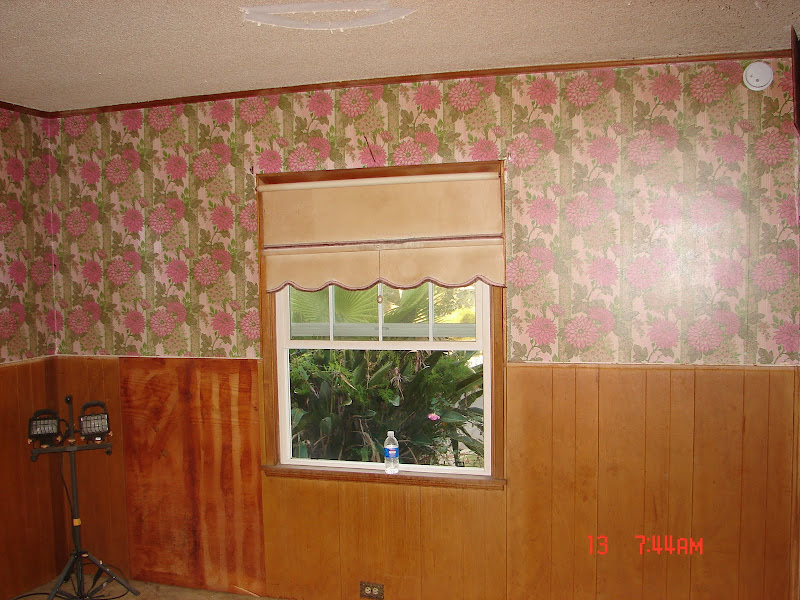
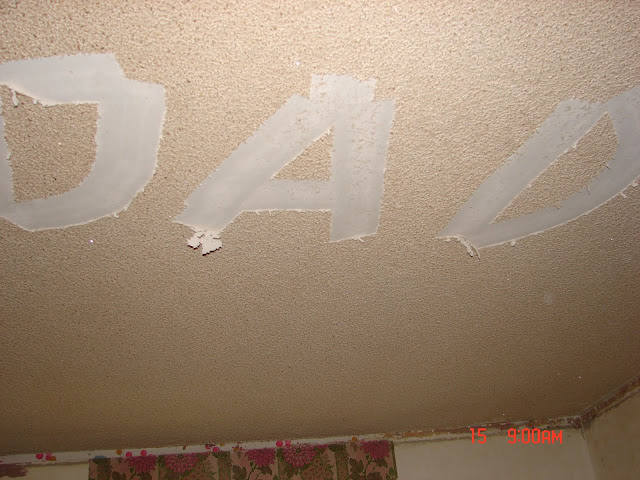
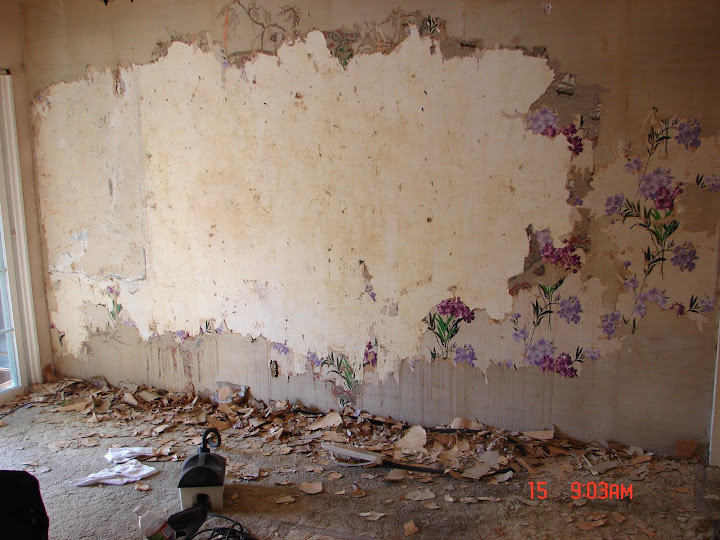 How about the infamous 3 layers of wallpaper found after we took off the paneling?
 Now a beautiful, stench free, blemish free wall!
 Best plasterers ever